workshop
Development Workshop - Exercise A
| toc | prev | next |
Here we deploy the PySimple image using the OpenShift Web Console.
This exercise uses the OpenRiskNet OpenShift Web Console to deploy a container image from a public registry (docker.io).
The container we use is PySimple, a small Python web server application that we’ll use in several places in this workshop.
- You can find the source code of the example’s container image on GitHub
- You can find details of the corresponding container image on Docker Hub
Log into the server
Using a web browser (ideally Google Chrome) navigate to the OpenRiskNet OpenShift Development Web Console at https://orn-master.informaticsmatters.com where you’ll be presented with the login page and enter the username and password you’ve chosen.
Creating a project (namespace)
Applications are deployed to namespaces. Note: we use the terms project and namespace interchangeably.
-
To create a project (namespace) for the application click the blue + Create Project button in the top-right of the console.

-
Provide a Name for the project.
Project names may only contain lower-case letters, numbers, and dashes and must begin with a letter or number. The name is arbitrary but, according to our workshop convention, let’s call it
${WORKSHOP_USER}-exercise-a(replace${WORKSHOP_USER}with your username).- You can provide an optional Display Name, which does not have the same content restrictions as the Name, and a Description
-
Click Create and you should receive a
Project 'user1-exercise-a' was successfully creatednotification as your project appears in the My Projects panel.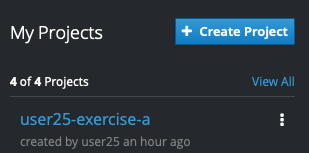
Deploying the application image
You deploy applications from within a project.
-
From the list of your projects click the PySimple project you just created. Here you should be greeted by a page explaining how you can Get started with your project.
-
Click the Deploy Image button and select the Image Name option.
-
To deploy a pre-built container image we simply enter the registry name and tag of the image we want to deploy. As we’re using a pre-existing image simply enter the image name, e.g.
alanbchristie/pysimple:2019.5and then hit Return.Without a registry OpenShift assumes
docker.iobut you can add a registry if you want e.g.docker.io/alanbchristie/pysimple:2019.5. -
OpenShift queries the image and, after a few moments, displays some brief information about it.

You will see that it understands that the image opens port
8080and so a Service to access that port will be created.If you scroll down you will see sections relating to naming, variables and labels: -
- You can change the Name of the image, but we’ll leave it as
pysimple. - You have an opportunity to define Environment Variables. As
pysimpledoes not require any we can can skip this. - You can also add Labels to objects that get created. It’s unnecessary for this example so leave these at their default values.
- You can change the Name of the image, but we’ll leave it as
-
Click the blue Deploy button in the boot-right of the panel to deploy the application and you should be presented with a confirmatory screen like this: -
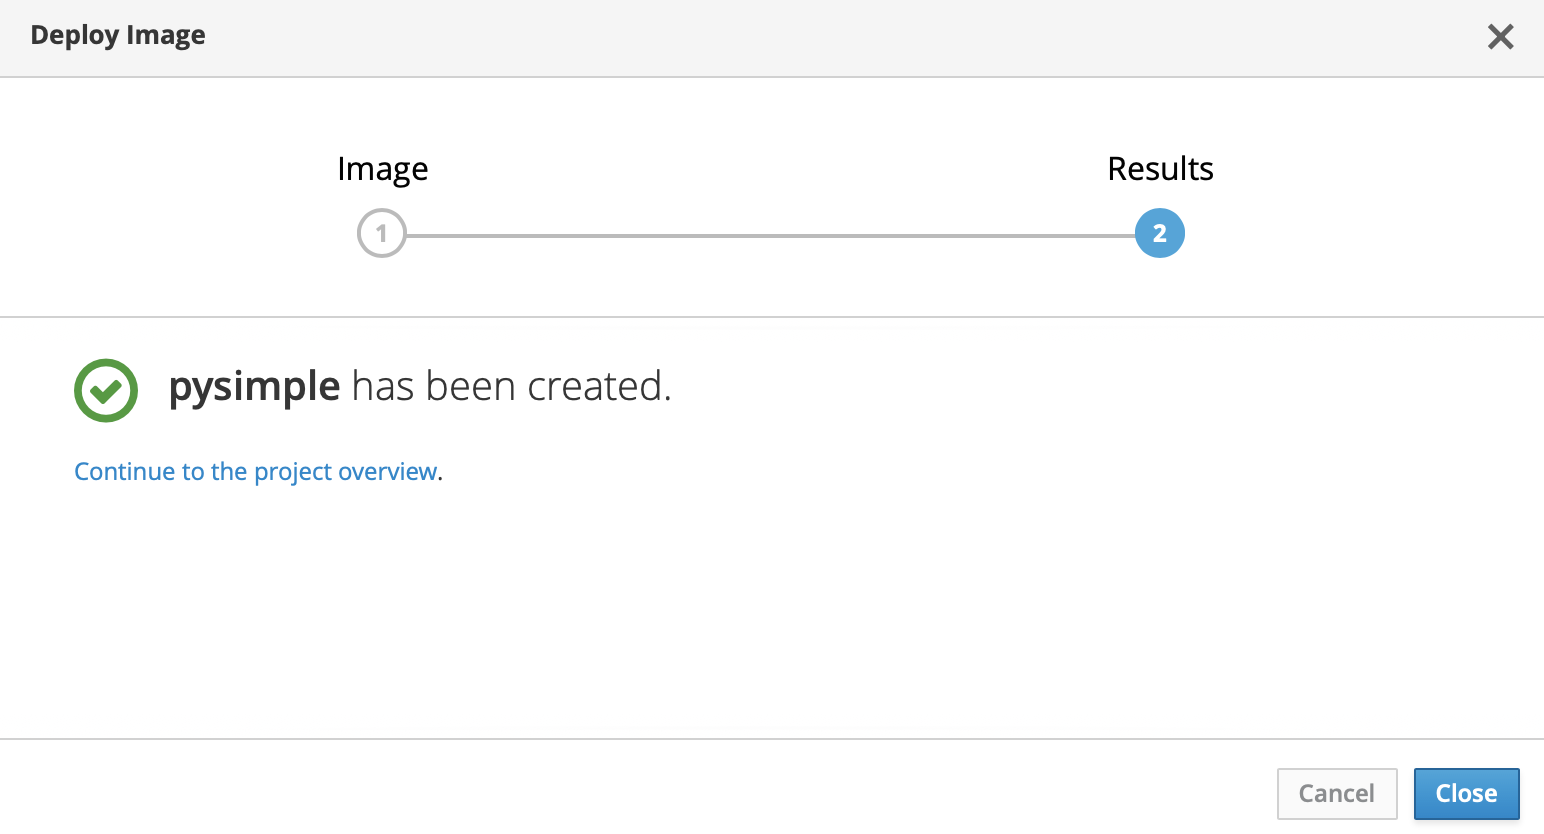
Click the Continue to the project overview link to be taken to your project’s Overview panel.
Project overview
The overview is a general view of your project’s objects.
As the PySimple image is quite small (around 38MB) it might be already running by the time you visit the overview page. If not you should see the application deployment progress where the image is first pulled from the public registry, passing through an initialisation phase before settling down into a running state, indicated by a blue circle.
When the application is running you should eventually see an Overview like this: -

Adding a Route
In order to access an application’s Service from outside the cluster you need to add a Route.
-
From the project Overview page click the + Create Route text on the right-hand-side of the NETWORKING section.
For this example you can leave all the options at their default values in order to create an unsecured Route from outside the cluster to the application’s Service.
-
Click the blue Create button at the bottom of the screen and you should see a
Route pysimple was successfully creatednotification appear.
You will be returned to a compact view of the projects’s Overview and you should now have a URL link that can be used to connect you to the application.

Click the URL link and to be taken to the PySimple HTTP page, where you’ll see the application’s Hello World! screen: -
Hello world!

Hostname: pysimple-1-npn5b
Num visits: 1
Delete the project
Clean up by deleting the project.
-
To delete the project, which deletes the namespace and all the objects we’ve created (including the Route), navigate to your console’s landing page by clicking the okd icon in the top left of the console window.
-
You should be returned to the start and you should see the My Projects panel on the right.
-
Click the vertical ellipses (
...) and select Delete Project.- Enter you project Name (e.g.
${WORKSHOP_USER}-exercise-a) in the dialogue box and then click the red Delete button to begin the deletion process. - The project is marked for deletion and on larger projects deletion can take some time. But this small project should be removed in a few moments, disappearing from the My Projects sidebar when it has.
- Enter you project Name (e.g.
| toc | prev | next |